
How to Clamp Curved and Angled Wood
Jul 10, 2025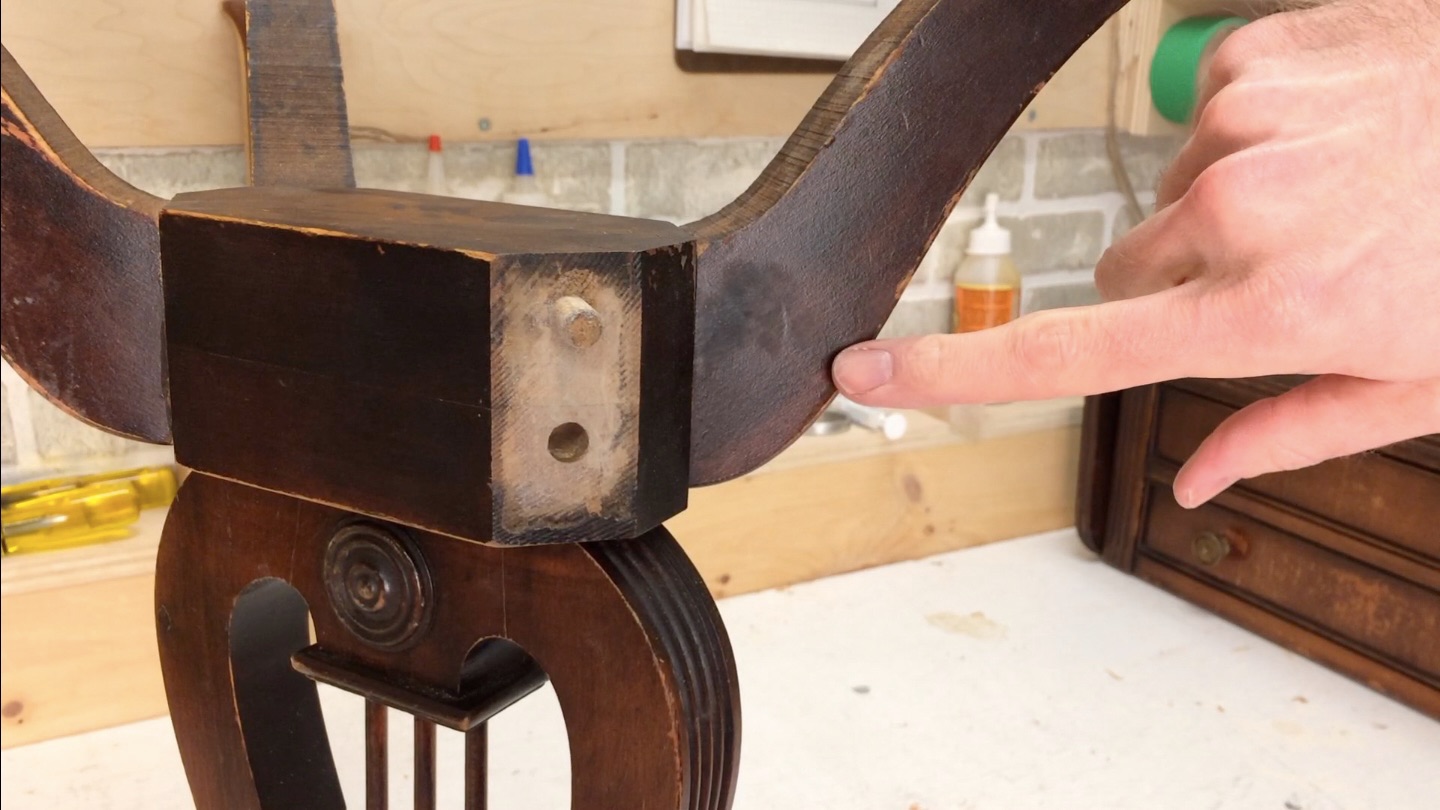
The process of gluing up wood on angles and curves may seem impossible, but we've got the solution of you. When furniture is built, often the curves are cut after the parts are assembled. In our furniture repair business, we frequently deal with clamping odd shapes to reassemble joints and broken wood. Here are the techniques to help you through your project and some YouTube videos to watch how it's done.
The first thing you need to know is how wood glue works. Whether you're using hide glue or PVA glue (aka carpenter's glue), clamping pressure is needed for the glue to work properly. Two pieces of wood resting beside each other will not allow the glue to work - they need pressure. Also, that pressure needs to be applied 90 degrees to the glue line. This perpendicular pressure ensures the seam is tight. Wood glue won't work if there's a gap between the two pieces of wood.
In many cases, curved and angled wood parts need a clamping caul. The purpose of the clamping caul is to give you a parallel surface to the wood seam you're clamping. For a straight angle, a wedge shape will work, provided it is held in place so it doesn't slide. For curved wood parts, its more complex. Here's a video that demonstrates making a clamping caul for a curved table wing support. As you will see, this would be impossible to glue any other way.
Making clamping cauls for curved parts is easy if you have a bandsaw. Simply trace out the part on a scrap piece of wood and cut to the line. If you don't have a bandsaw, a jigsaw will work as well, as long as you control the blade to not cut on an angle.
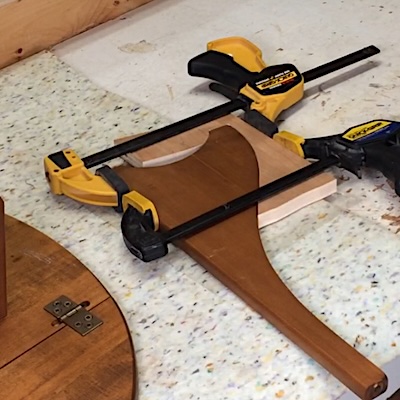
The second step is to determine where to cut notches for the clamps that hold the clamping caul in place and for the clamp that will provide the parallel clamping pressure to the glue surface. Here's a simple example of a curved clamping caul:
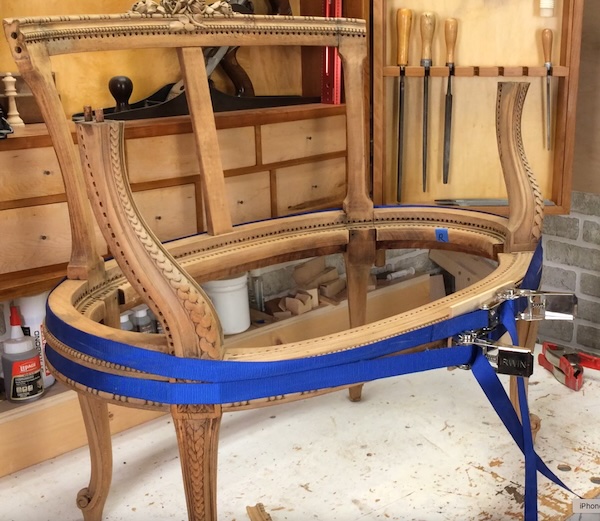
There are a few situations where you might not need clamping cauls. Strap clamps may work in a situation where clamping pressure is needed around a piece such as this settee.
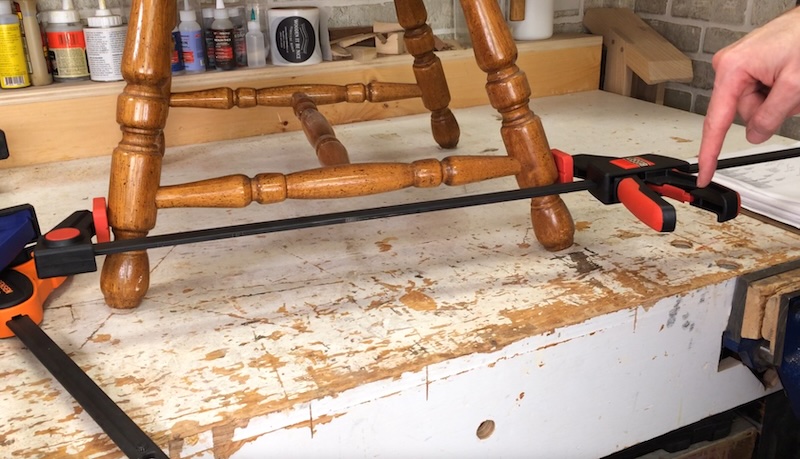
Where there are slight angles, such as chair legs, having the right clamps make it possible to clamp them together without clamping cauls. We use trigger clamps that have rubber pads in our workshop. Not all trigger clamps use the same pads, and the more plastic-type pads don't grip in situations like this, especially on wood that is finished. To see my trigger clamp tool review, where I test clamp pads, see the Clamp Tool Review video.
Clamping wood with odd shapes is easier once you understand these various techniques. I hope you found this blog post helpful in assisting you on your own projects. If you're interested in learning how to repair furniture, take a look at our furniture repair courses and our Fixing Furniture Community.
Author: Scott Bennett, Co-owner, Wooden It Be Nice - Furniture Repair
Stay connected with news and updates!
Join our mailing list to receive the latest news and updates from Fixing Furniture.
